Garden Journal

Saturday, June 24, 2006

Lots more June Garden Pics

GARLIC HARVEST
Actually only half of the garlic has been brought in so far. The best performer this year looks like it will be the Inchelium Red. It is a softneck. I am letting it all cure in the kitchen now. Harvest date for the Inchelium Red was June 16th. I waited till it was basically all the way dry.

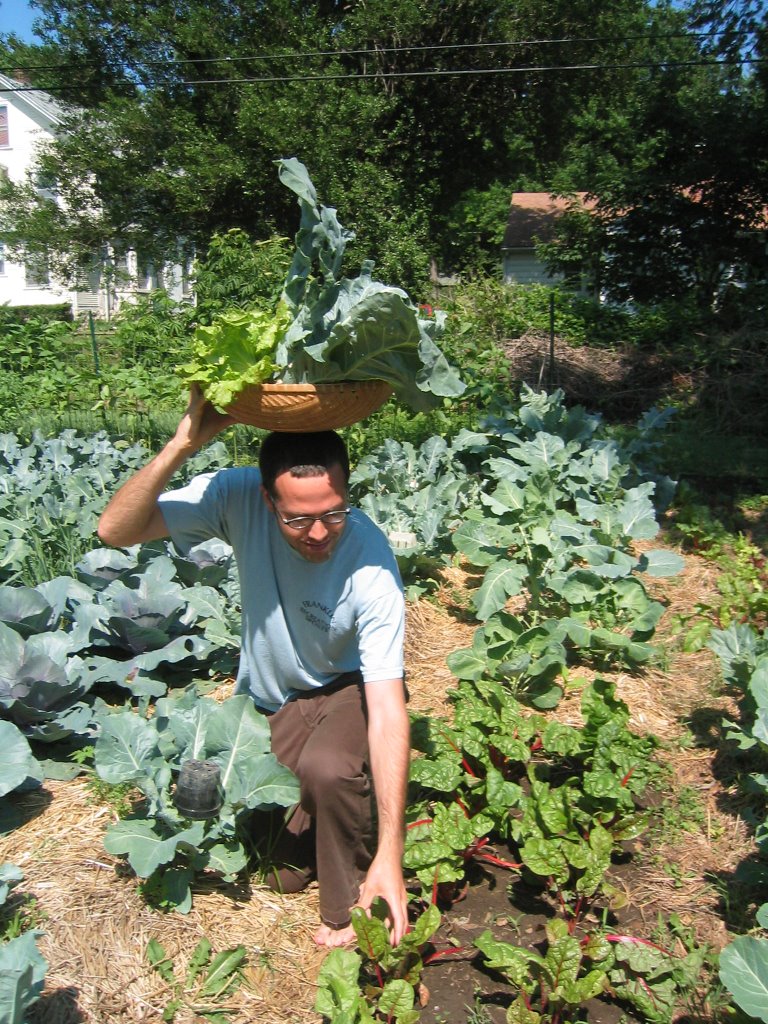
Showing off the harvest


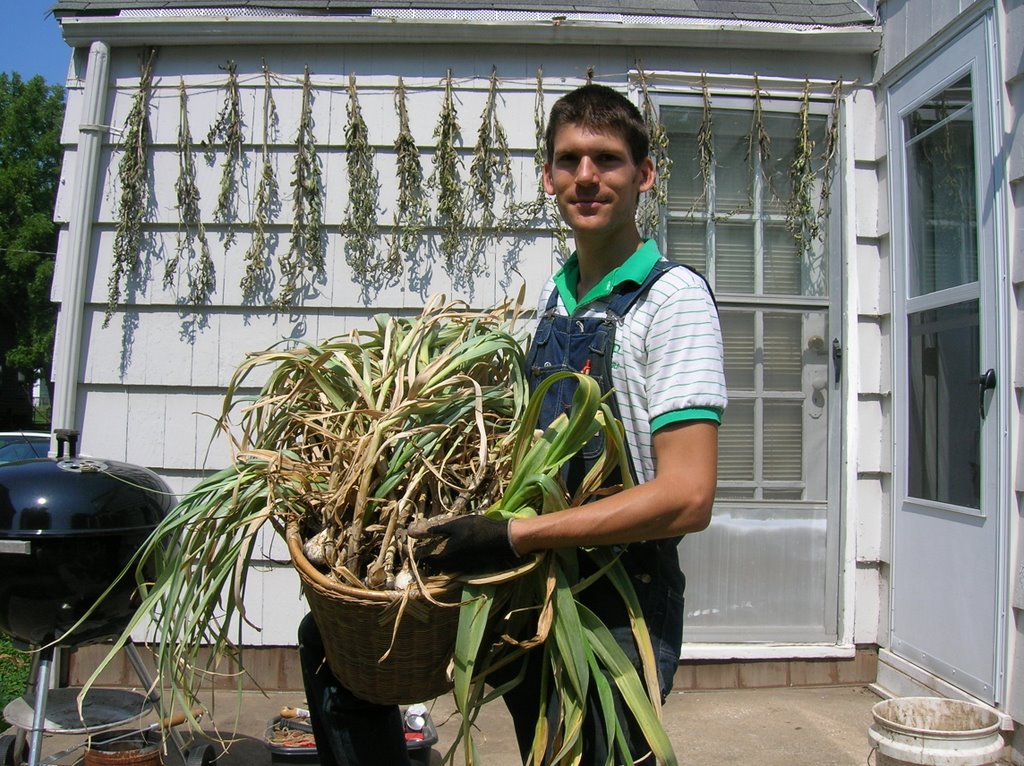
This shows the fava beans hanging in the background.

You can see that I harvested the middle two rows. I still have not taken out the outside rows. I will likely do that this weekend (july 1st)

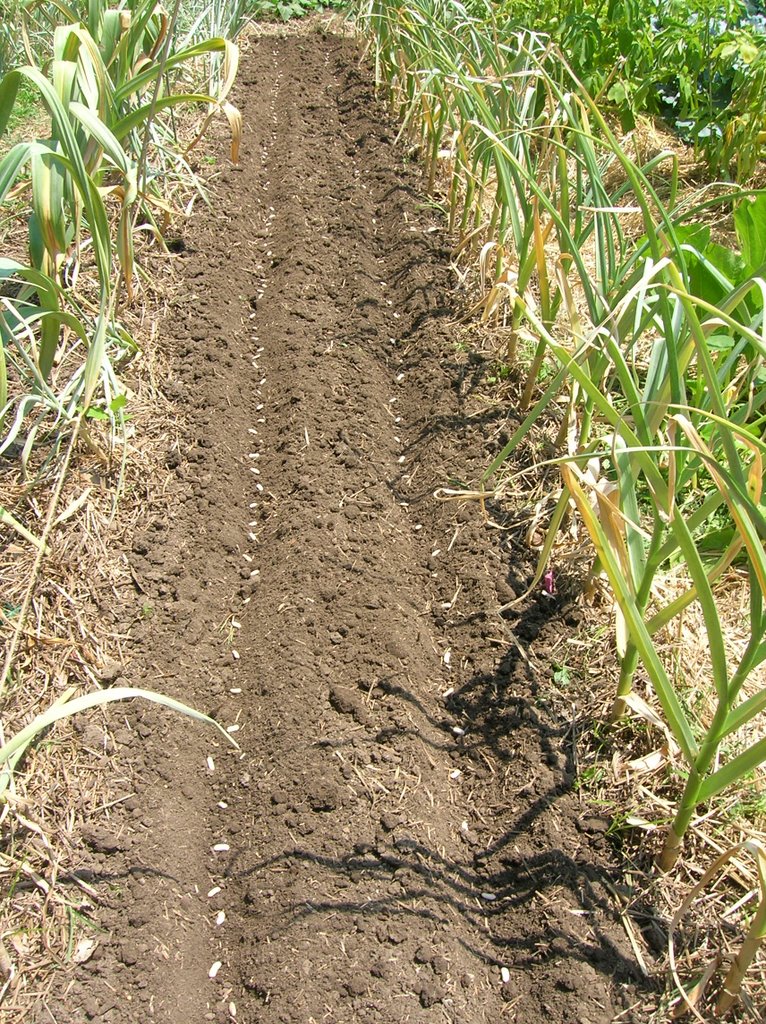
I planted a hot weather "Contender" string bean in the garlic patch. It pays to do an early variety b/c you can fill the patch up with beans after you pull the garlic. AND the beans help improve the soil!

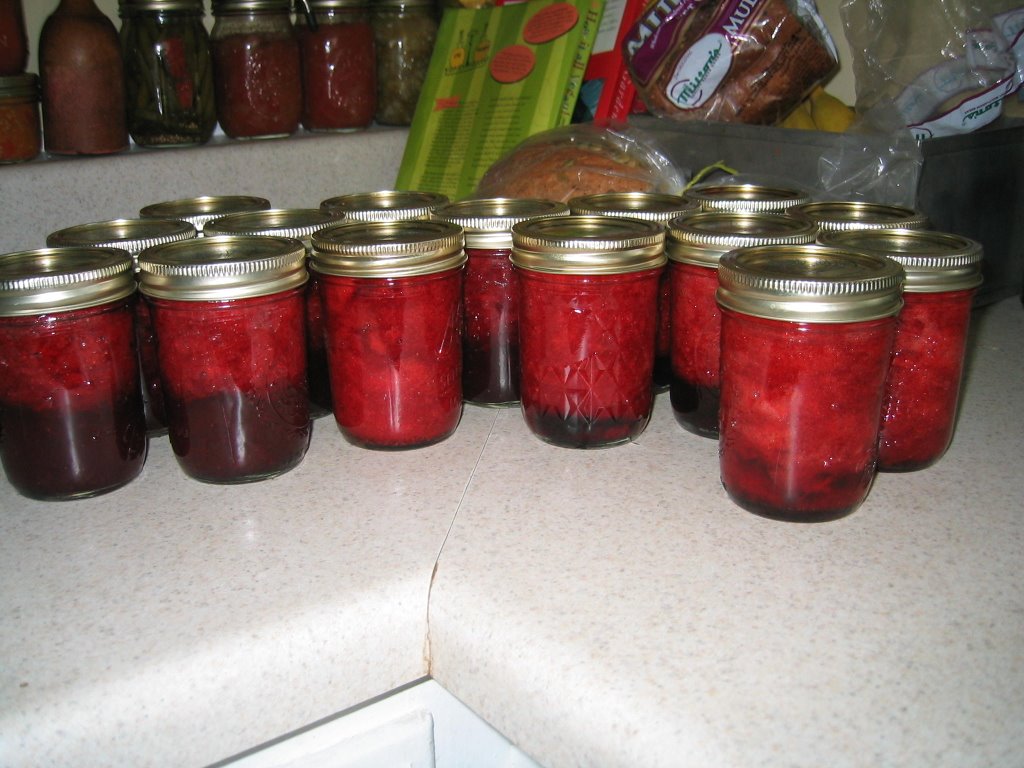
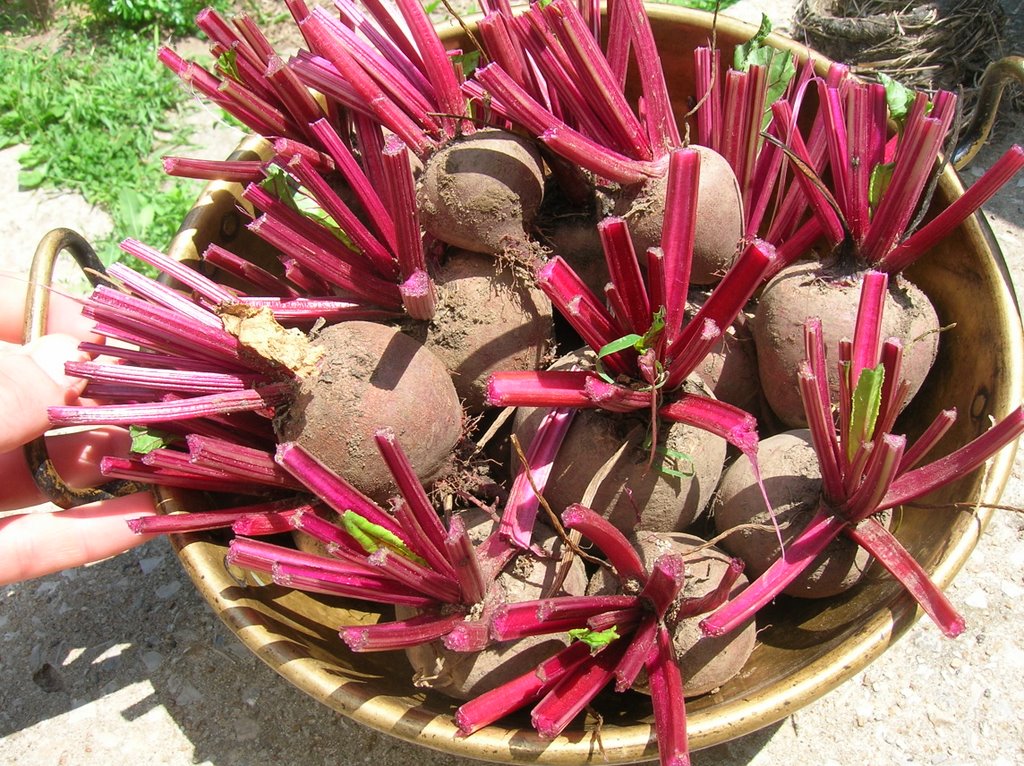
Some beets. I pickled all these


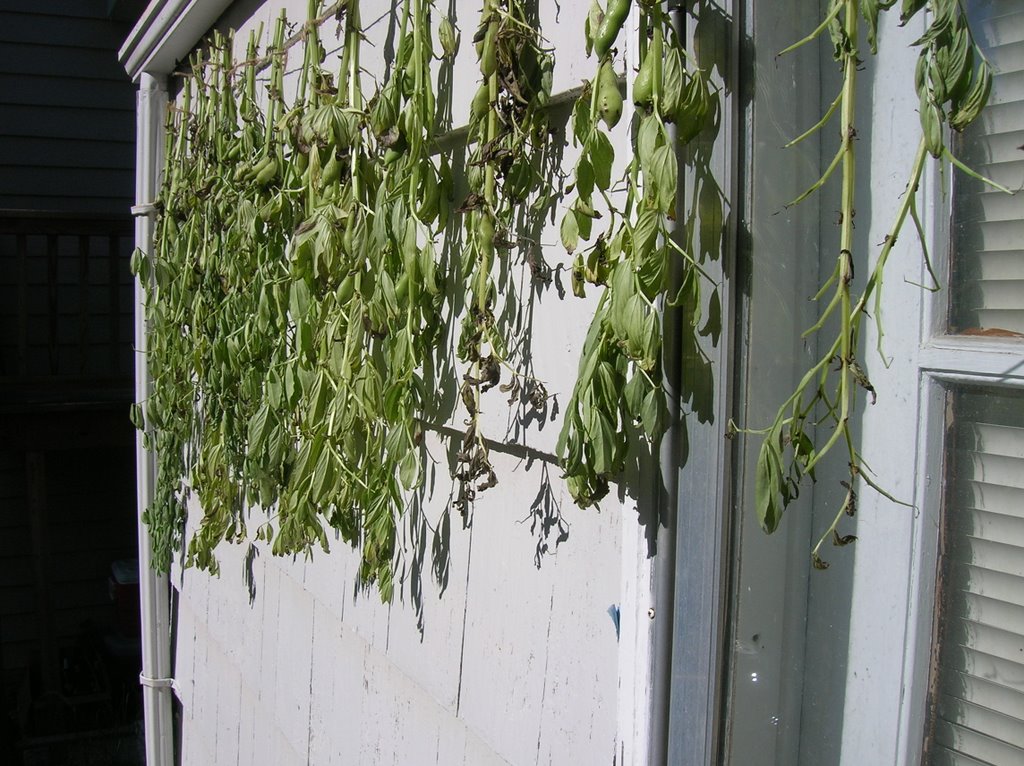
The fava beans drying outside. I started drying these around 1st or 2nd week in june. I put soybeans in the same spot once I took them out.

Here are the dried shelled fava beans.

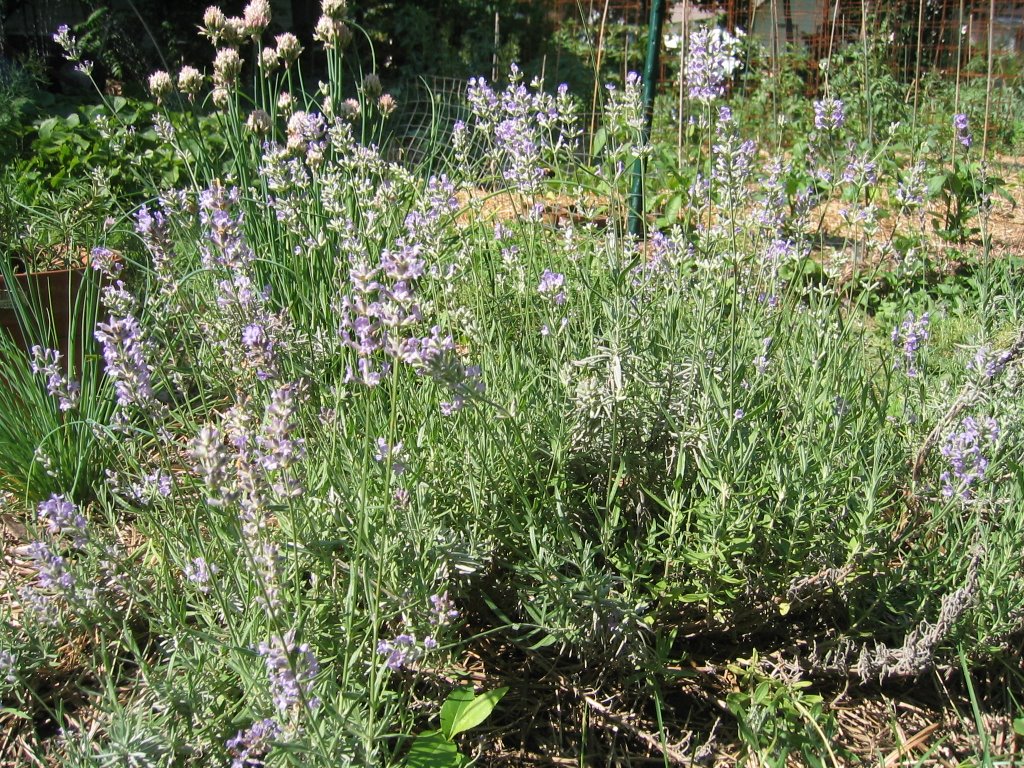
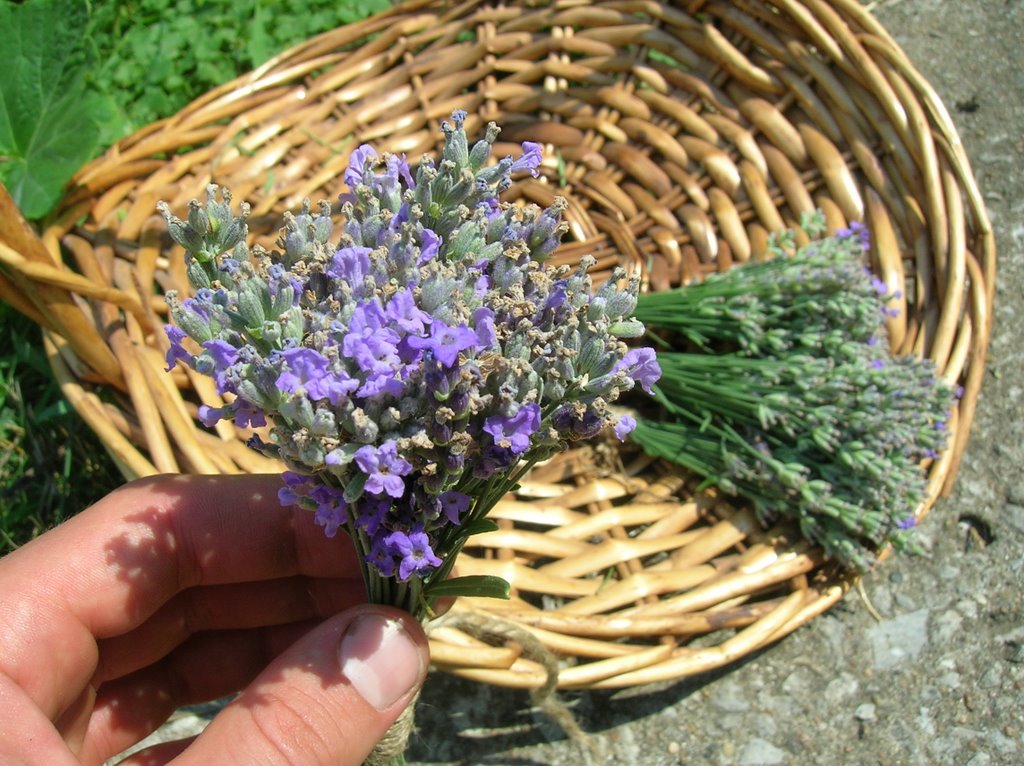
Lavender bundles from the herb garden. Great in tea and i am going to try and make a lavender gellato

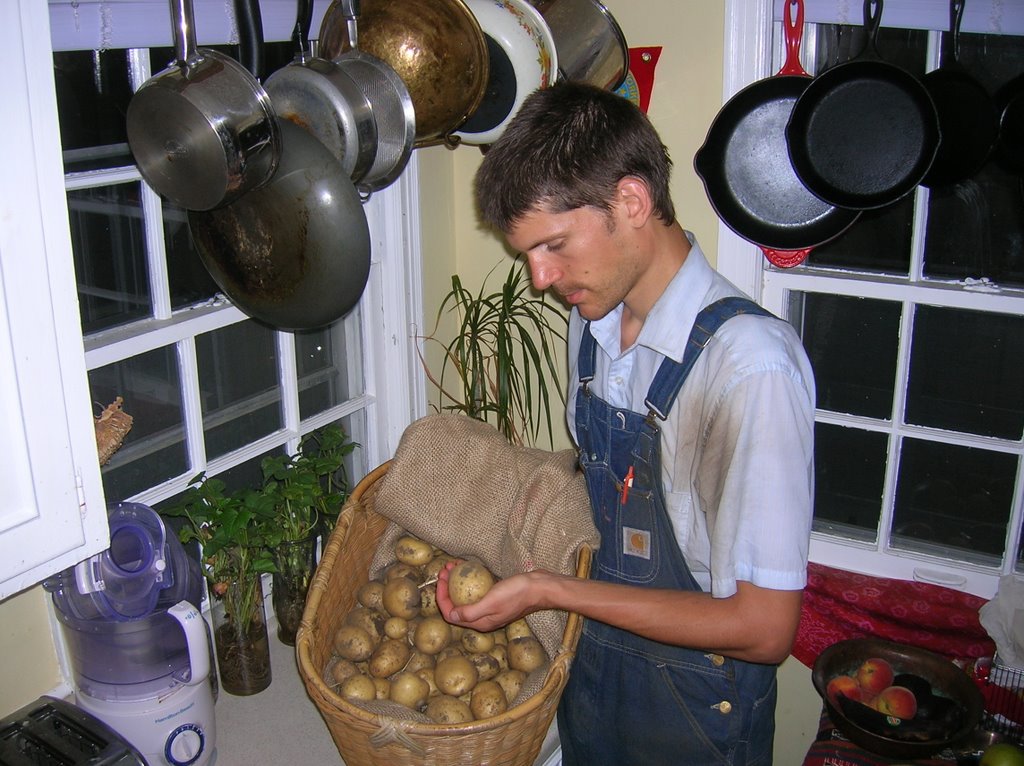
Our yukon gold potato harvest

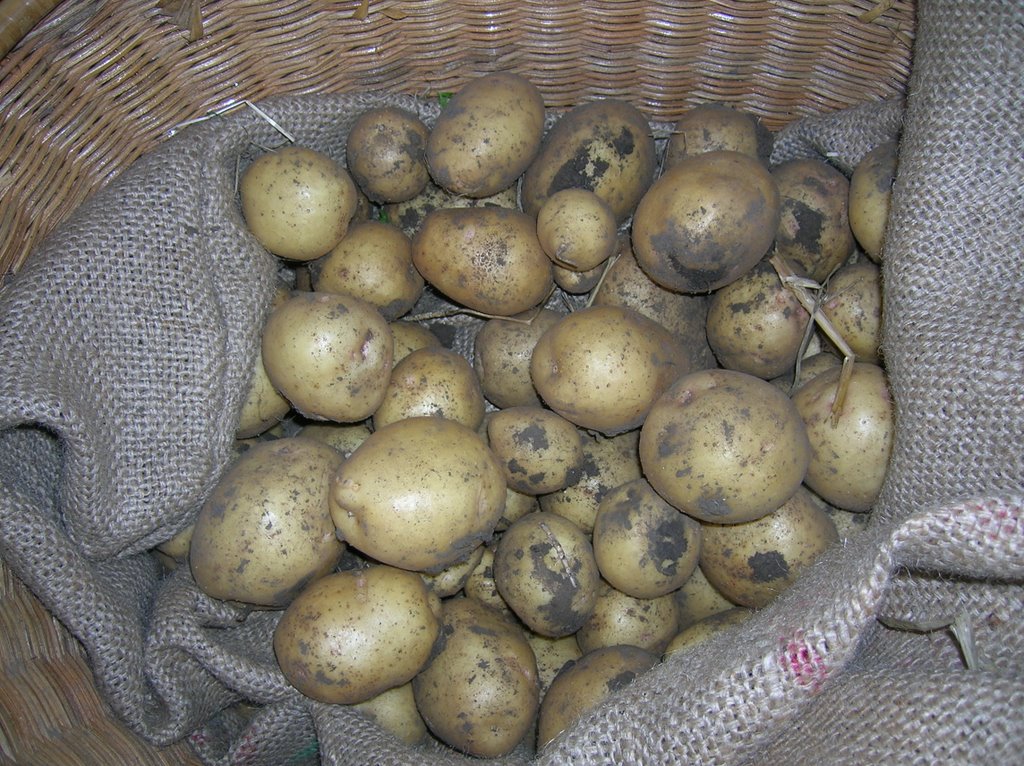
I filled up a shelf in the root cellar downstairs. We should have potatoes for the next 5 or 6 months.

Some of the garlic being cured (basically a real slow drying)

Green beans, Zuchunni and summer squash. I am very proud of the zucchuni, considering how much trouble I have had growing them in the past.


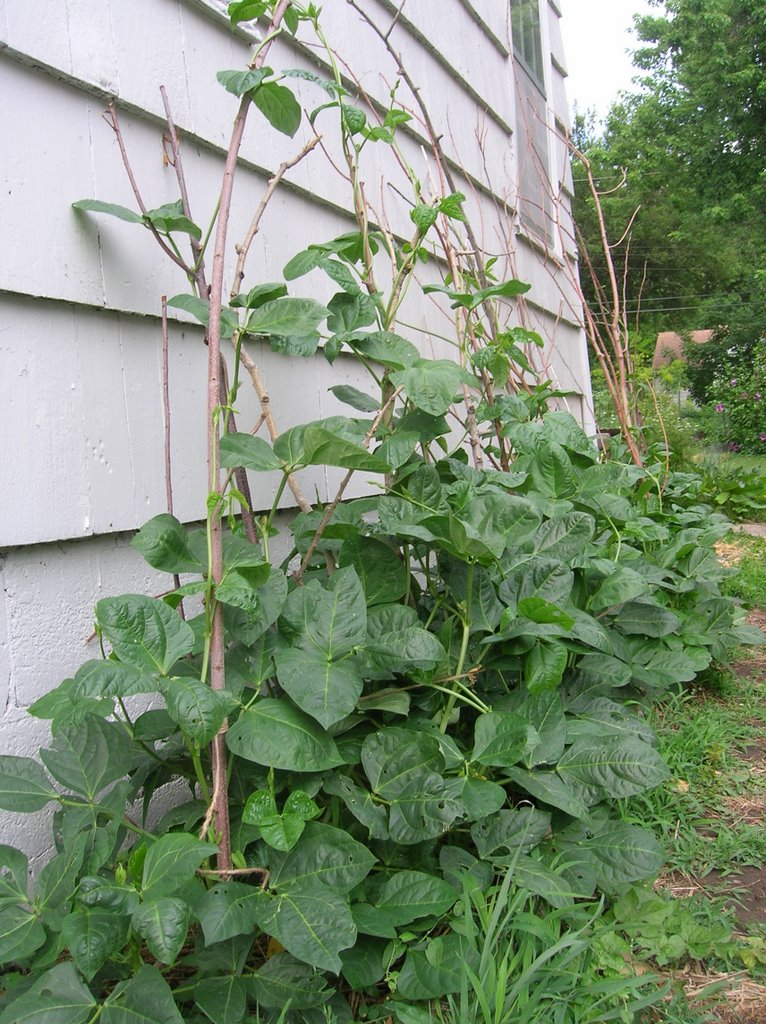
The hot weather "black eyed" peas.

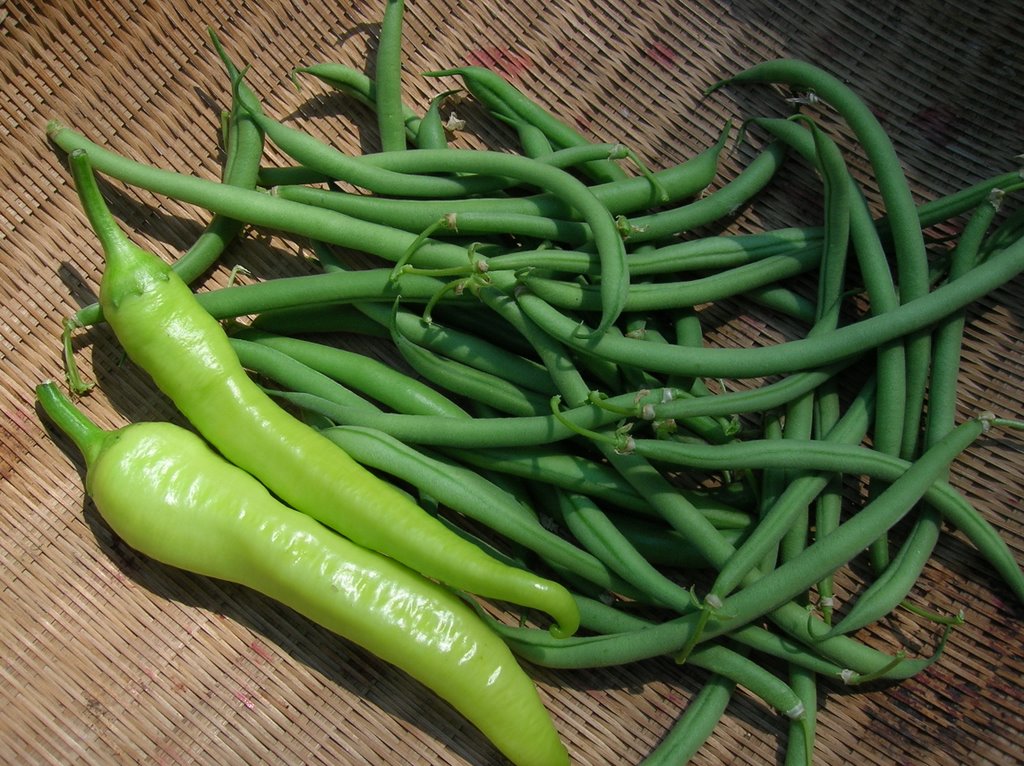
The first peppers of the year.

Some of the butternut squash plant growing out of the plum tomato patch

Some of the developing tomatoes. The plants look incredibly healthy.

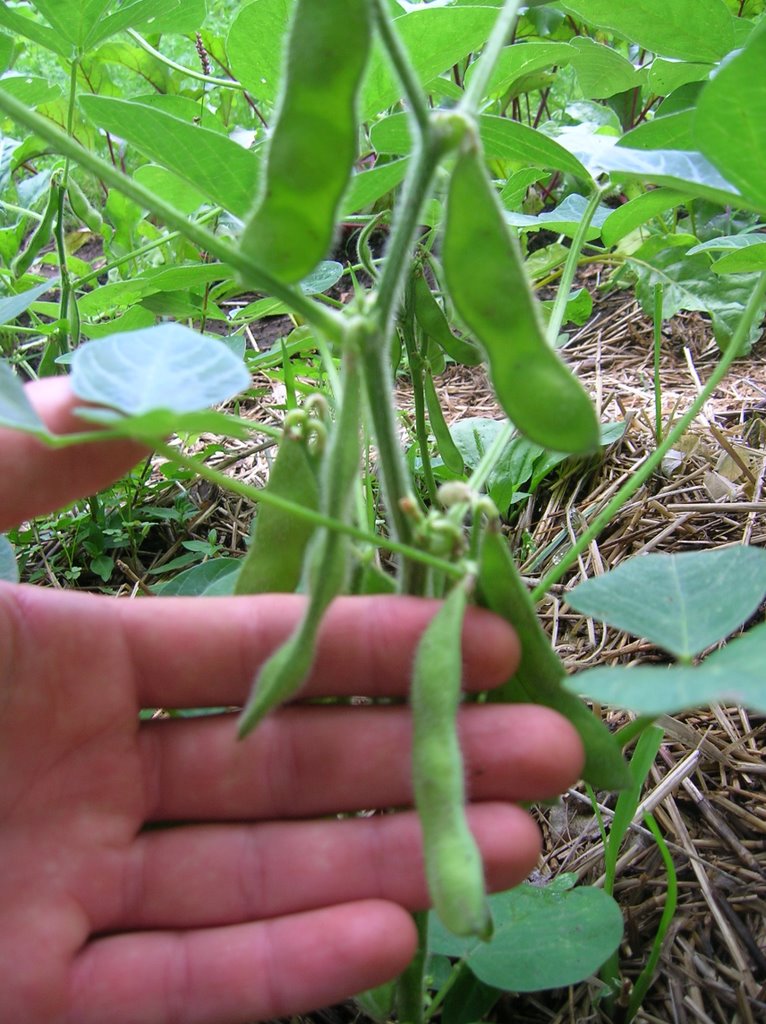
Edemanu soybeans. It is almost time to harvest them.

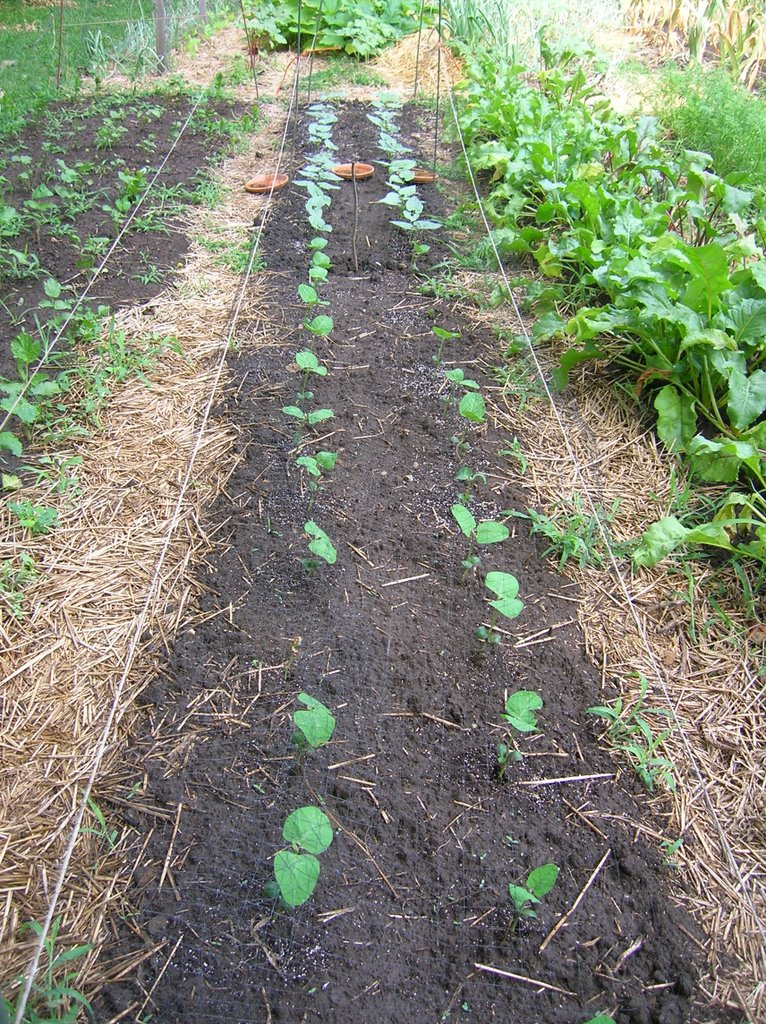
New hot weather bean seedlings. This is soybeans and lima.

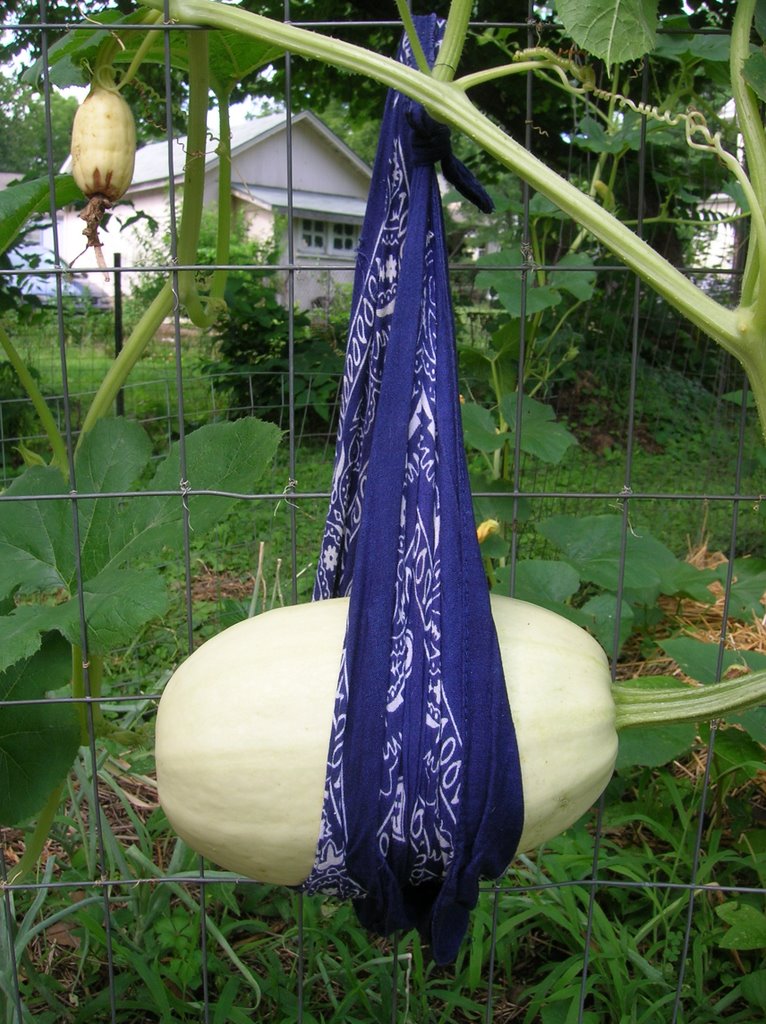
Spagetti squash ripening on the vine.

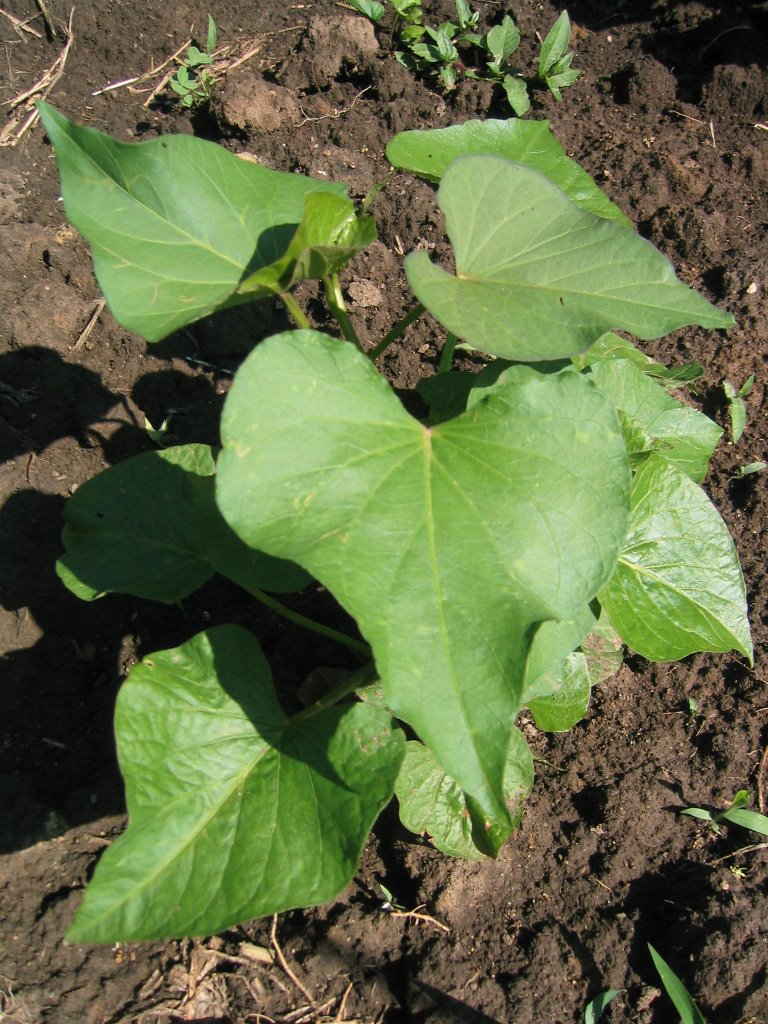
The sweet potatoes with some new straw mulch to keep the moisture on.

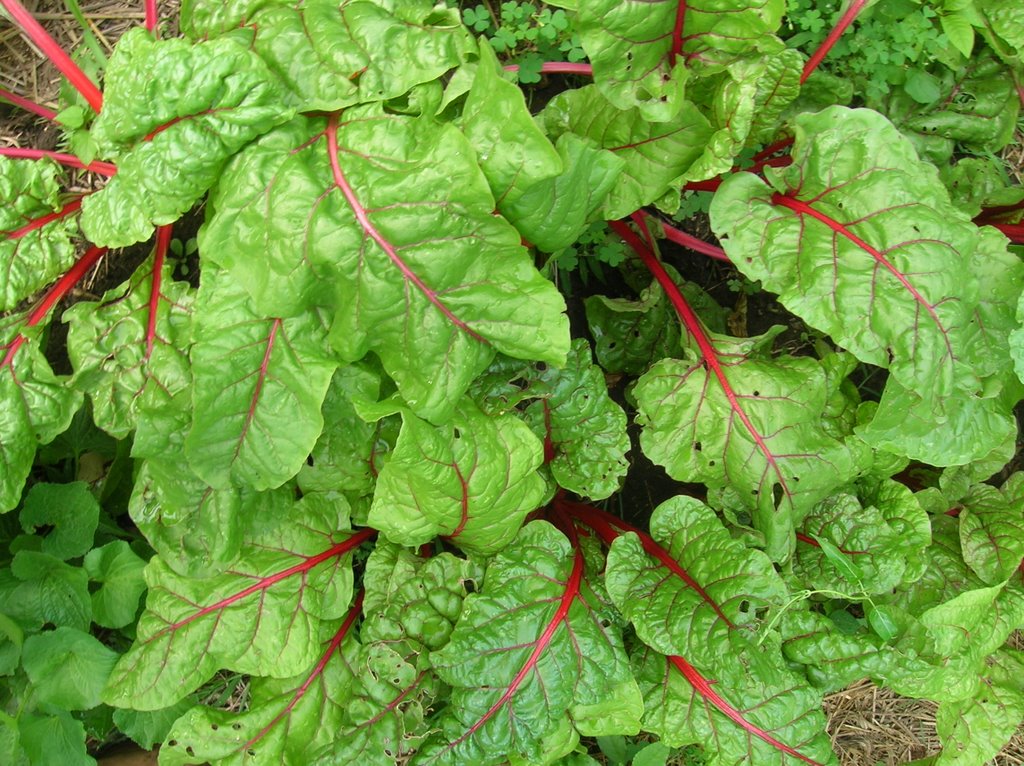
The red chard in desperate need of harvesting.

Some yellow chard. Much milder flavor

I made this into cabbage rolls. Ryan made a good honey mustard sauce for them, so I think I might do this again.

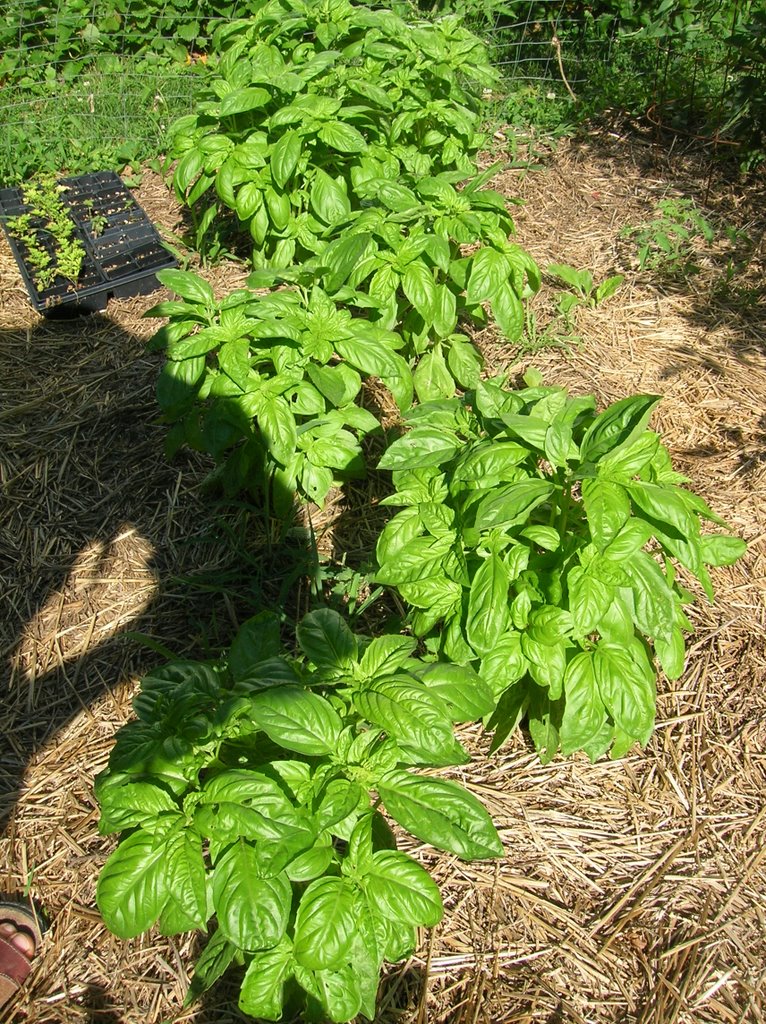
The basil plants are really healthy. I already made a patch of pesto out of this.

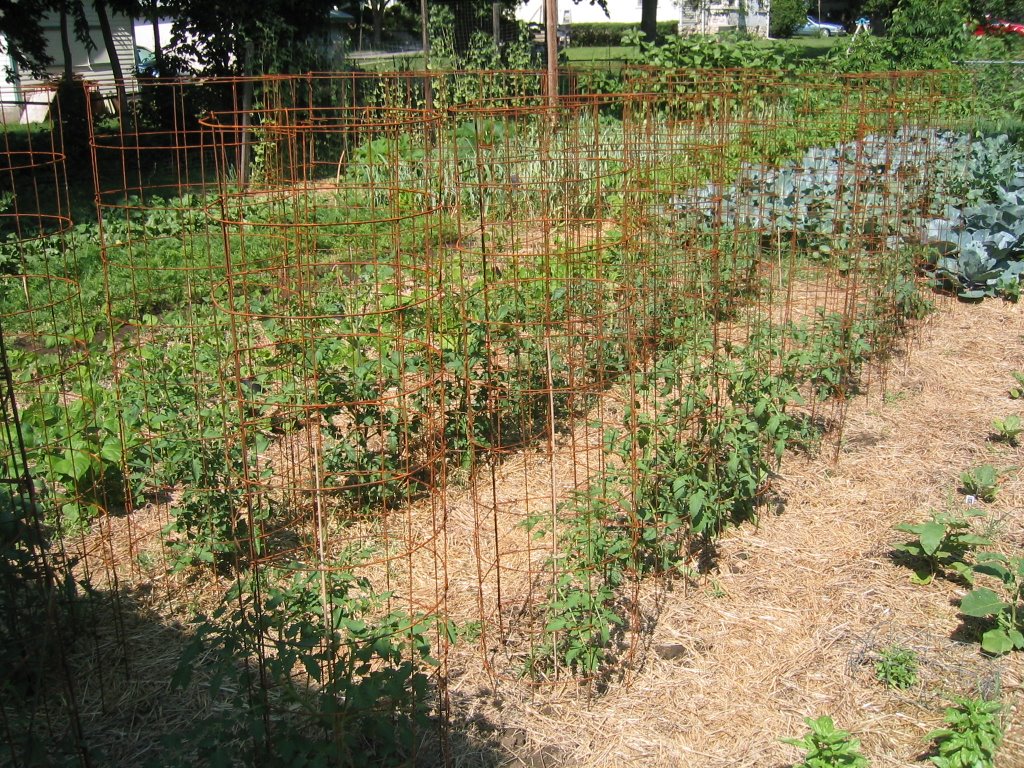
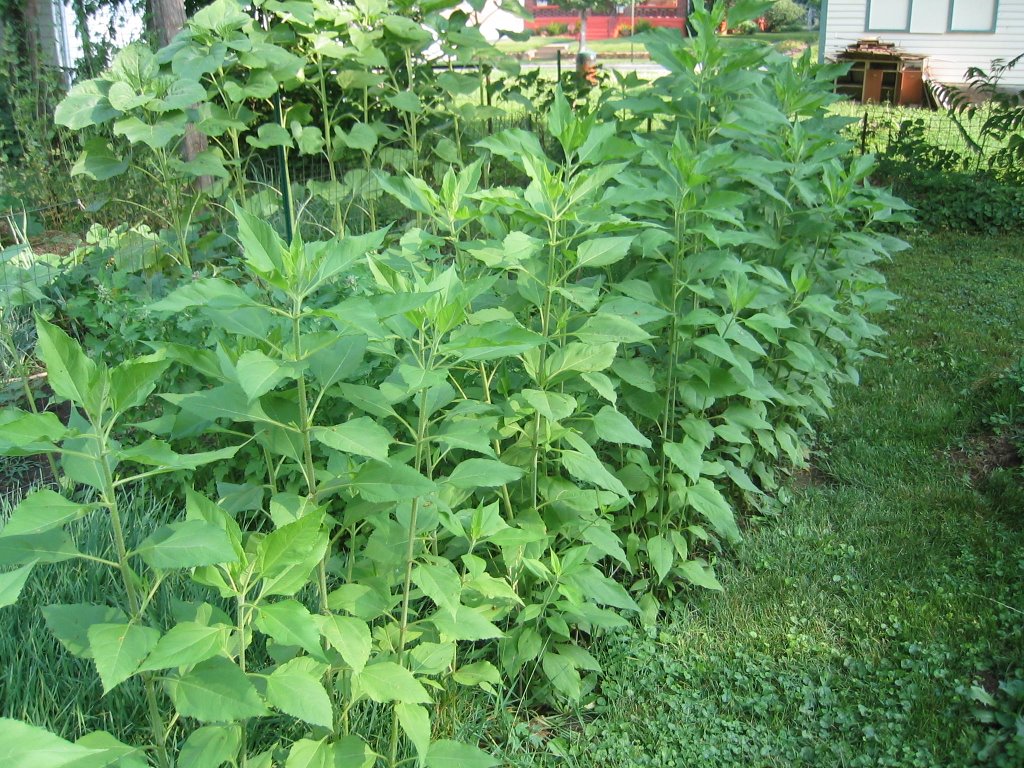
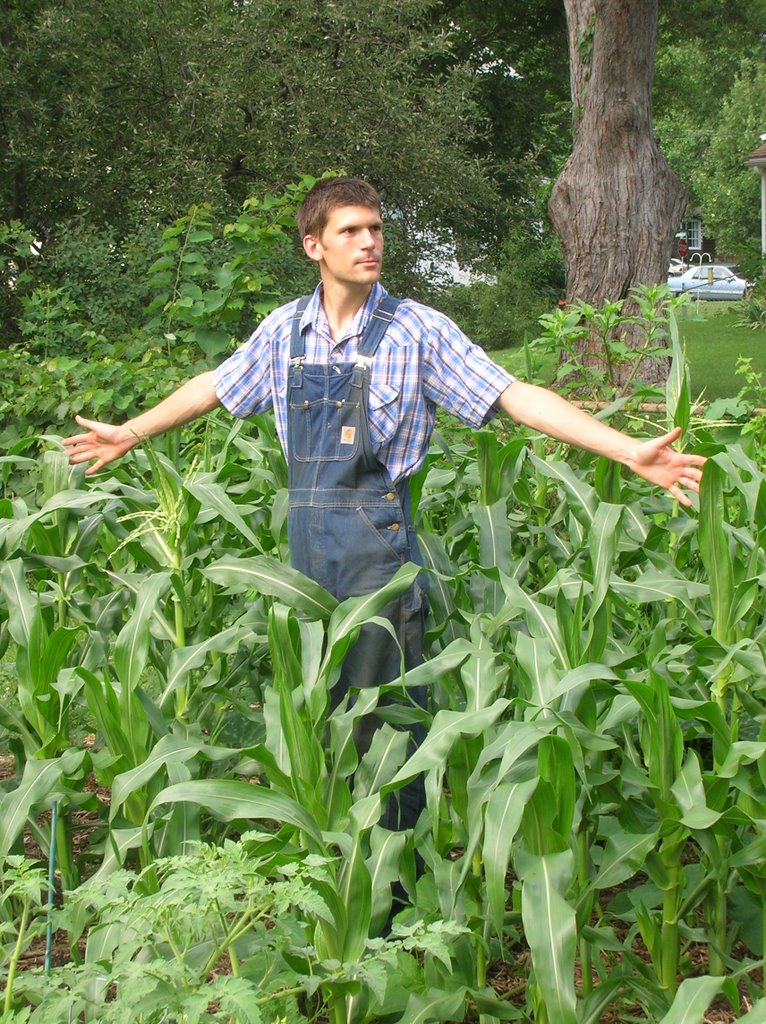
"Knee high by 4th of July"?? HAH! It is late june and many of the plant are past my waist. My neighbor's soil is good stuff. I can't wait for our first bite of sweet corn.

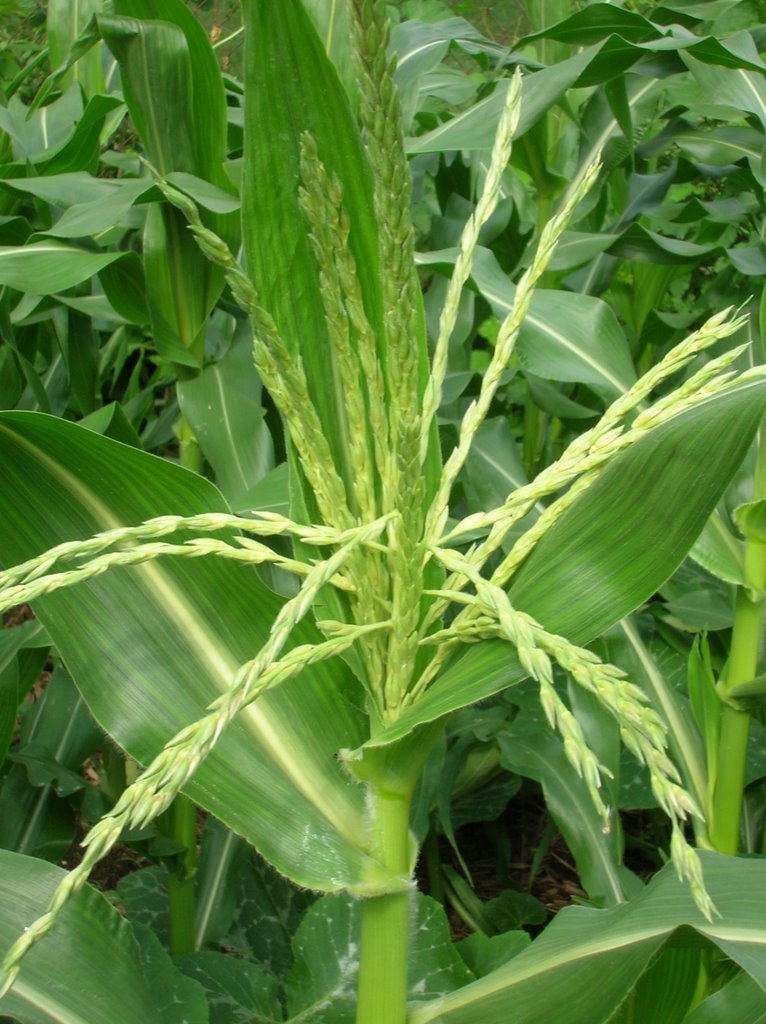
Some of the corn has already put up tassles

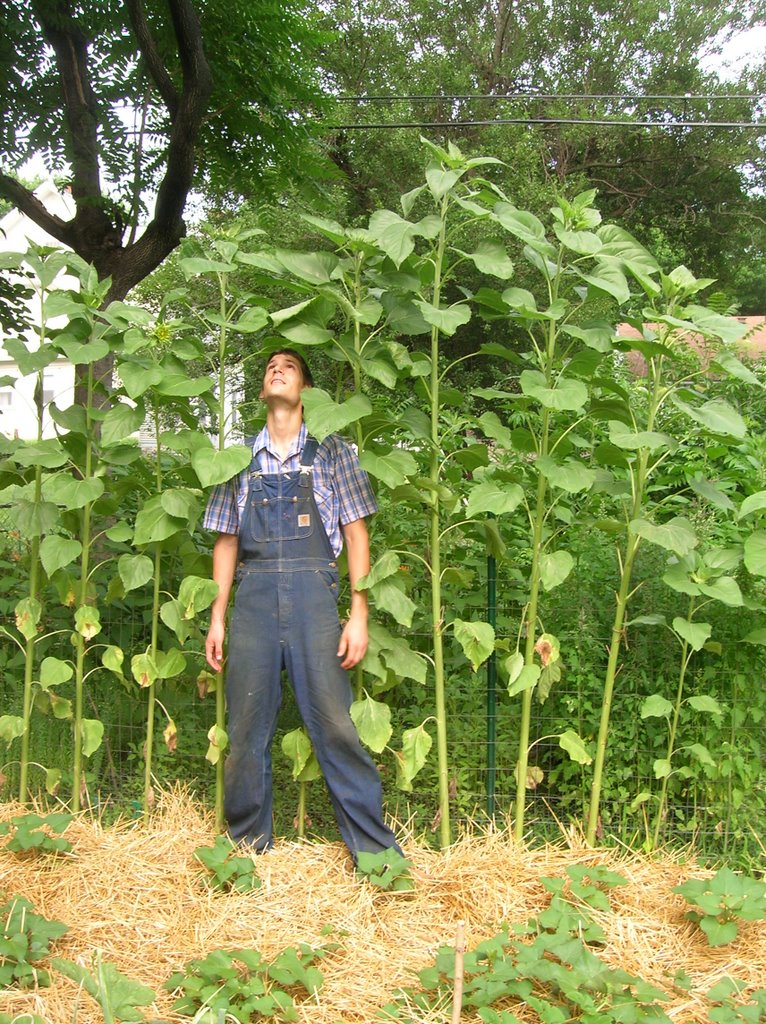
Sunflowers are now 10 feet high. They are starting to bloom.


String beans on the vine

Got to go eat garden soup.

PESTS and PESTILENCE

Squash Vine Borer

The squash vine borer is by far the worst insect pest I have in the garden. In the "pestilence" category, I think the potato blight is probably the worst (see below). The attractive insect below is in the order Lepidoptera, though it actually looks like a fly (diptera). I start spotting it around the garden in may.
Squash vine borers refers to the larva of the moth pictured above. This insects lays its eggs on the stems of squash plants and when they hatch, they burrow into the stem and suck the juices from the plant. The first sign of damage is a generalized wilting of the plant. The first time I saw it I thought it was some sort of bacterial wilt. Later, as the borer continues to feed, it destroys some or all of the stem (shown below)

At this stage your squash plant is basically dead. One single borer will kill the entire plant. I have developed a special loathing for this bug and it has forced me to modify my gardening tactics.

Control:
Another reason the squash vine borer is so frustrating is that you can't do much about an infestation once it has set in. First thing you notice the wilt, you have a couple options. Application of organic pesticides or biological controls to the outside of the plant will not work b/c the borer is inside the stem. So... you can either 1) Slit the stem open at the site of entry of the borer [which is identified by the browned site of damage] and use a toothpick to find and kill the borer. 2) You can inject the stems of the plant with one of several biological control agents. Bacillus thuringensis and some parasitic nematodes are available for this purpose. 3) Finally, you can cut your losses, pull up the entire plant and try to start and new crop in its location.
The first two option are not guaranteed to work by any means. I have done surgery on 5 separate plants and only come up with one fat borer.


So instead of putting a bunch of work into controlling the squash vine borer once an infestation has occurred, I focus on prevention. There is a list of squash that are most or less susceptible to the insect and butternut squash and yellow summer squash are ranked as the most resistant. Consequently, that is mostly what I grow.
I have also read that spraying the base of the plants with a mix of rotenone and pyrethrin (both plant derived organic insecticides) has a deterrent effect. I also pile dirt on stems of plants that display squash vine borer damage in the hopes that new roots will sprout and feed the remainder of the plant.

Cucumber Beetles

Cucumber Beetle:

The cucumber beetle is another common pest in my garden. I often find them hiding out in the squash flower and on the underside of cucumber leaves early in the morning. You can see that the beetle pictured here is striped. I also have the spotted variety, but the feeding and damage patterns are similar.


The real problem with the cucumber beetle is not there feeding (though a heavy infestation can kill plants). Their biggest contribution to decreased yield for me is through the bacterial wilt and the cucumber mosaic virus that they spread. The wilt actually looks kinda similar to the wilt a plant first experiences when the squash vine borer starts feeding in it. The pic below shows the life cycle and damage associated with the cucumber beetle. I have read that the larva can damage plants, but I have never had a problem with that.

Control:
There is a TON of information about cucumber beetle control on the internet. It seems to be a serious problem for organic producers. I have tried a couple methods with varying degrees of success. First I tried to apply a mixture of bacteria that were supposed to infect the beetle and damage their ability to feed. I can not remember the exact name of the bacteria, but it is not that important because it really did not work that well.
I have also heard that rotenone (chemical extract from tropical plant), pyrethrins (discussed below), and Neem tree extracts are effective organic spray controls. I have tried these, but I worry about using these too much around the cucumbers b/c the pollinators love the cucumber and squash plants and these are all very general toxins.
My principle method of control right now is prevention. I choose to grow cucumber cultivars that don't produce the "burp" scent that attract cucumber beetles. There are hybrids that don't have the scent, but I am trying a totally different tactic and growing all Asian cucumber varieties this year. I also rotate the location of the cucumbers so the beetles don't find them as fast. Also I kill every one I find on morning rounds.

Squash Bug

Squash Bug
The squash bug (Heteroptera: Coreidae Anasa tristis) comes out in june and starts to attack the summer squash and winter squash in the garden. This sucking feeder does damage to the leaves stems and fruits of my spagetti, yellow summer, zucchuni, and butternut squash.

Occasionally while inspecting my plants I will find a load of eggs looking exactly like the picture below. The cluster of eggs is often accompanied by a few immature squash bugs. I try to destroy as many of the eggs as I can find, but there always seems to be more.


Control:
I don't have a huge problem with squash bugs. The damage is not nearly as dramatic as that seens with the squash vine boerer. Consequently, I do not use any methods of control beside routine inspection of the plants and manual killing of the adults, larva, and eggs. A good trick to kill off a bunch of these bugs is to lay a board near one of the squash plants overnight and then go out in the morning, lift up the board and start killing bugs. For more serious squash bug infestations it is suggested to use row covers, plant more resistant cultivars and attempt parasitic control with parasitic wasps. Organic insecticides don't seem to be particularly effective against this bug.

Friday, June 23, 2006

Flea Beetle

Flea Beetles

The pic below shows a heavily damaged leaf of an eggplant seedling. The Flea Beetles seems to target the eggplant specifically, though they do damage to other plants as well. You can see that the leaf is yellowing as well. If you let a flea beetle infestation get out of control it can rapidly defoliate the plants.

Here is a picture that gives you an idea of the size of these beetles. They are tiny, and they jump like flea when you disturb the leaves of the plant. But they are pretty easy to manually kill.

Close up
Control:
The flea beetles overwinter in the adult form in debris in the garden. If you keep the area clear you reduce the amount you have to deal with next spring, but there are benefits to keeping the soil mulched through the winter.
One preferred organic method for flea beetle control is trap cropping. I have not tried it this year, but I am considering it for next year. ATTRA (National Sustainable Agriculture Information Service) research shows that giant mustard and radish crops can act as good traps. Other methods that are suggested are row covers and sticky traps. I don't really like to use sticky traps b/c I seems to catch too many pollinators and predator insects that I don't want to kill.
My most effective means of control is either Neem oil or Pyrethrin from chrysanthemum flowers. I apply it about every 3 weeks to the eggplant and it is extremely gratifying b/c the insects stop feeding almost immediately. You have to look for damage regularly b/c the beetles return quickly. Once the real hot weather hits the flea beetle seems to be less bothersome, so there is no need to spray in August.

Thursday, June 22, 2006

Mexican Bean Beetle

Mexican Bean Beetle
The damage shown in this first picture is the characteristic pattern of destruction caused by the mexican bean beetle. I first noticed the damage in early may on the first "new" leaves of the bush string bean plants.

The beetle, Epilachna varivestis Mulsant, is said to be native to the south of mexico but seems to be a problem over much of the US now (based on the fact that alot of agriculture extension services have information about controling this pest). You can see in the picutre below that the beetle looks a lot like its close relative the ladybug. They are both in the order Coleoptera and the family Caccinellidae. The beetle shown here looks slightly different than the ones usually found on the plants in my garden, which have a brighter, almost pink color.


Shown below is a adult beetle and its larve. The larva found on the plant in my garden have darker spines, but I have read that that is normal variation. Both the adult and the larva will feed on the leaves and the stems of the plant but most of the damage is done to the leaves. The larva is supposed to be a much more aggressive feeder than the adult.


Prevention:
I really don't know any good prevention methods yet. I need to do some research on the ATTRA web site about this. I think certain varieties are more attractive than others. Soybeans seem to be resistant.
Control:
Luckily these beetles are susceptible to the organic insecticide pyrethrin. Pyrethrin is derived from chrysanthemum cinerariaefolium plant. It is a general toxin but very safe to apply. I don't know its effect on the good insects, but it works effectively and rapidly to reduce damage by the mexican bean beetle. Multiple applications may be needed.

Black Spot Mold

Black Spot Mold
This fungi infection seems to go by different names in different places. Around KC it is called Black Spot Mold and is usually associated with an infection of tomato plants. I believe the organism that we are dealing with is Fulvia fulva a fungi that spreads by condia that remain in the soil and in decaying organic matter over the winter.
Below is a picture from a university extension site showing black spot mold damage to a tomato plant. I am proud to say that this year the prevention and control methods have been so effective that I have no good examples of this disease on the tomato plants.
Prevention:
For me the primary method of prevention is preventing contact of soil with the leafs of the susectible plants. I mulched the tomato seedling immediately after planting. This is extremely effective. Also, consistent pruning of the plant helps keep a steady air flow and good sunlight on the base of the plant.
Control:
I have been told that the baking soda mixture mentioned under the discussion of powdery mildew below is effective but I have never used anything to combat this. Prevention is really the most effective method b/c once a infection sets in it is really hard to completely eradicate.
The picture below shows what can happen when you forget to mulch a susceptible plant. This is the leaf of a sunflower plant in the garden and you can see the extent of the damage.


Potato Blight

Potato Blight:

The picture below shows the leaves of a potato plant in mid June. For the last two year my potatoes have become infected with Phytophthora infestans, a fungal disease that attack the leaves (usually first sign) stems and tubers of the potato. This the same organism that caused the Irish Potato famine in the 1840s depicted above. There have been an array of synthetic fungicides developed to control it but resistant strains or the organism are now infecting crops. The disease is very frustrating, but luckily I have found some good practices that allow us to still get a reasonable crop.


Prevention:
Start with seed potatoes that are certified disease free and that has some intrinsic resistance to the blight. I have found that Yukon Gold will last slightly longer without getting infected and produces some of the best tasting tubers.
When blight damage is spotted on leaves the leaves ought to be removed and buried in the compost pile. A plant that is wholly infected ought to be completely removed. I think next year I will try to plant pieces of seed potatoes instead of whole potatoes.
Also, dusting the seed potatoes with sulfur at planting and spreading some worm casings around the seed potato at planting is said to help.
Control:
The only organic methods of control I have been told of are 1: spraying with wettable sulfur and/or 2: spraying with a tea made from the juice from the vermicompost box. The microorganisms in the solution are supposed to suppress the fungi.

Powdery Mildew

Powdery Mildew:
This pic below shows the leaves of the sugar snap peas infected with the powdery mildew. The infection seems to start in the KC area in early to mid may and is covering most of the crop by later may. The infection reduces the yeild, but the plants are kinda slowing down anyways b/c the weather is getting too hot.
Prevention:
Plant extremely early - mid feburary or late feburary - as soon as ground can be worked. The seedlings can easily make it through snow and freezing temperatures. The earlier you plant the more time the plant will be yeilding before the powdery mildew hits as the weather gets warmer.
Also, I have recently heard that there are several resistant vareities available. Many of them are shelling varieties, but there is a sugar snap hybrid variety that has good resistance. I am going to try to grow a resistant vareity for the fall crop.
Organic Control:
The most successful method of control I have discovered yet is baking soda. It is best to apply at the first sign of damage by mixing 2-4 tsp of baking soda in 1 liter H2O with 1 tsp of insecticidal soap (helps to spread the baking soda evenly over the leaves of the peas)


Saturday, June 10, 2006

June Garden Glory

Early June pics of the garden.
I am on break from medical school for about 3 weeks so I have lots more time to put into cultivation. The weather is cooperating mostly this June. It has gotten really hot really quick, but most nights are still cool. The humid heat is good for the summer crops (the sweet potatoes, the peppers, the okra, squash, tomatoes, etc.) but the greens, sweet peas, fava beans, and other cool weather crops are suffering. It is kinda weird to watch the peas burn up in the hot sun. It seems like I dug through the frosty soil just yesterday to drop the little peas in the ground. During the early spring I get frustrated with the slow pace of growth and the persistent cold. During the early summer I get frustrated with the powdery mildew, the cucumber beetles, the black spot mold, the merciless sun that causes the chard to wilt and the turnips to look half dead. Overall I just like to watch the progress. Alright. On to the pictures!


Nasturtiums. Edible flowers. They have a little sweetness and then a very short radish-like spicy kick. We eat them on salads and I gave some to a friend who owns a pastry and cake shop with them. She also uses mint from the garden to make this awesome mint cream dessert. I gave her some lavender today too and she is going to make a lavender cream dessert.


Summer squash flower. This the "yellow straightneck variety. We ate some in a stir fry the other night. You can eat the flowers too. You batter them and fry them.


I am pretty excited about the cauliflower. I need to put all the plants in full sun next year. These pics are of one of the best specimens. I think there is a bigger one out there right now. We ate this in an frittata (sp?) (it is a glorified omelet). I think I will either cook or freeze the rest of the crop this week.

Here is Ryan messing with the red chard. You can see the large leaves of the developing brussell sprouts over his left shoulder (on the right side of the pic). I have not grown those before so I don't really know what will happen.

Here is the "French fillet" snap beans. You can see some holes in the bottom leaves. That is damage from the Mexican bean beetle. I have been killing all the beetles I can find every morning and it seems to have helped control them. I just pick our first handful of beans and they tasted excellent. I am looking forward to a bumper harvest. I want to make more "dilly beans"

These are the growing tomatoes. I swear they have grown about a 1/2 foot since I took this pic. They are really taking off. I just built the new cages around them. They are made of large gauge concrete rebar mesh. It is perfect for the job. You can reach you hands through and pick tomatoes or prune the plants and they are very very sturdy in a storm.

A close up of the tomato cage. You can see the leaves have not yellow discoloration of black spots. I think the early and heaving straw mulching has paid off in terms of avoiding the black spot mold.

Part of the "experimental crop". This is quinoa. It is a great grain and is very healthy. The flower heads have set and now I am hoping that the nights don't get to hot to quick for the flowers to turn to seed. I am told the quinoa wants cool nights. It is accustomed to high altitude weather and poor gritty soil. We have warm humid night with nutrient rich soil, so we will see how this works.

Here is one of the many developing cabbage heads. I hope one gets bigger than my head. I got to start thinking about cabbage recipes.

Sweet potato plants are starting to grow faster. I think their roots are pretty well established now and we will see some rapid growth.

Here is the lavender that Natasha is going to make into a cream dessert. I am going to dry some for teas too.

First carrots and some of the last sweet peas.

Also part of the experimental crop. These are Jerusalem artichokes or "sunchokes". I have not eaten a lot of them, but you can use them like potatoes. The stalks you see here will keep growing tall all summer long and will put up scraggly looking sunflower like blossoms. Under the ground they form knobby looking tubers that you can cook or eat raw. You can dig them up in the middle of the winter. They store in the ground through the frost.

Here is the corn plants. They really must be growing an inch a day at this point.

Here is the first load of strawberry jam. Since this pic I made a second load and I made a load of apricot jam from apricots that my friend and former housemate Tim gave me. He has a tree in his yard in new Mexico and he brought me up a bunch (dried and fresh). I am trying to get the basement in order so that I can store all this down there. I have a deep freeze down there now and I am filling it with garden greens and broccoli and strawberries, etc...


View from my neighbors stairs. It is growing so fast right now.
Ok I am off. I will probably take more pictures soon.